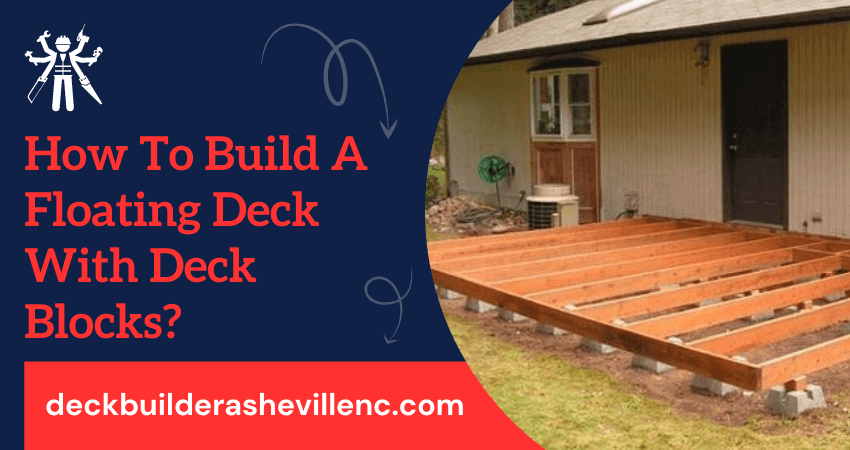
A floating deck is a simple and inexpensive way to create a comfortable outdoor space where you can relax and enjoy the sunshine. Unlike traditional decks, which are attached to a house or other permanent structures, floating decks are freestanding and can be built anywhere in your yard.
One of the easiest ways to build a floating deck is with deck blocks, which are precast concrete blocks that provide a stable foundation for the deck.
In this guide, we will take you through the steps of how to build a floating deck with deck blocks, from planning and preparation to construction and finishing touches. By the end of this article, you’ll have a better idea of how to build a floating deck and what materials you need. So, let’s get started.
Build Floating Deck With Deck Blocks
Several steps must be taken when constructing a floating deck with deck blocks.
1) Planning and Preparation
There are several important factors to consider when planning and preparing for a floating deck project.
i) Determine the location and size of your deck
Consider the intended use of your deck, the surrounding landscape, and any other relevant factors. Decide on the size and shape of the deck, and choose a location that will provide the desired amount of sun and shade.
ii) Check with your local building codes
Building codes vary by location, so it’s important to check with your local government to determine what permits are required for building a deck. You may also need to obtain a permit for any electrical or plumbing work that will be done on the deck.
iii) Gather necessary tools and materials
Make sure to have all the necessary tools and materials for the job. This includes deck blocks, pressure-treated lumber (for framing), concrete mix, hardware such as screws and nails, and other tools such as a drill and saw.
iv) Prepare the ground
Before building the deck, clear the area of any vegetation or debris. This may involve using a shovel or rake to remove grass or weeds, or hiring a professional to remove any large rocks or stumps.
v) Level the ground and mark the corners of the deck
Use a level to ensure that the ground is even and flat, and then mark the corners of the deck with stakes or spray paint. This will help you visualize the layout of the deck and ensure that it is properly positioned before construction begins.
2) Installing the Deck Blocks
i) Determine the number of deck blocks needed and the distance between them
The number of deck blocks needed will depend on the size of your deck and the weight it will support. A general rule of thumb is to use one deck block for every 4-6 feet of beam length. The distance between the blocks should be determined by the length of the beams that will rest on them.
ii) Place the deck blocks in the designated locations
Once you have determined the number of blocks needed and their placement, you can begin to place them in the designated locations. Make sure the blocks are positioned on level ground and are spaced evenly.
iii) Use a level to ensure the deck blocks are level with one another
It’s important to ensure that the deck blocks are level with one another to prevent the deck from being uneven or unstable. Use a level to check the levelness of each block and adjust as needed by adding or removing soil underneath.
Also Read: How To Lay Decking On Soil?
3) Building the Frame
i) Install the ledger board to the house (if applicable)
If the deck will be attached to a house, you will need to install a ledger board first. This is usually done by attaching it directly to the house with lag bolts or bolts. Make sure to follow local building codes when installing the ledger board.
ii) Build the frame of the deck
Once the ledger board is installed, you can begin to construct the frame of the deck. This will involve laying out and cutting the pressure-treated lumber for the joists, beams, and rim joists. Use a carpenter’s square to ensure that each piece is cut accurately.
iii) Attach the frame
After all of the pieces are cut, you can begin to assemble the frame of the deck. Use galvanized screws or nails to attach the pieces, making sure to check for squareness at each step.
iv) Secure the frame with concrete
Once the frame is assembled, it needs to be secured in place with concrete mix. This involves digging a few inches into the ground and filling it with the concrete mix. This will help to keep the frame steady and prevent future movement or shifting of the deck.
4) Installing the Decking
i) Cut and lay the decking boards: Once the frame is secure, it’s time to begin laying the decking boards. Cut each board to align with the edge of the frame and then lay them down evenly. Start at one end and work your way towards the other end in a straight line.
ii) Allow for adequate spacing between boards: When laying the decking boards, make sure to leave enough space between each board to allow for expansion and contraction. Typically, a gap of 1/8-1/4 inch is recommended.
iii) Secure the decking with screws: Once all the boards are in place, use galvanized screws or nails to secure them. Drill pilot holes first to prevent This will help to protect against moisture and water damage.
5) Adding Finishing Touches
i) Install railing, if desired: If the deck is elevated off the ground, it may require a railing system to meet local building codes. Choose a style that suits your preferences and install it according to provided instructions.
ii) Apply sealant: To protect your deck from moisture and weathering, you should apply a sealant once construction is complete. This will help to keep the wood looking like new and will keep it safe from the elements.
iii) Add any desired accessories: Finally, you can add any desired accessories such as benches, planters or decorations that you may want. This is a great way to customize your deck and make it your own.
FAQs – Build A Floating Deck
How do I determine the number of deck blocks needed for my project?
To determine the number of deck blocks needed for your project, you should consider several factors including the size and shape of your deck, the type of soil it will be built on, and the loads that will act on it.
Additionally, you need to calculate an estimate for the weight of the materials being used. A general rule of thumb is to use one block for every 4 square feet of deck.
How do I level the deck blocks?
Once the blocks are in place, you will need to level them so that they are all at the same height. To do this, use a spirit level and shims (thin pieces of wood) to adjust any blocks that aren’t quite right. You may also want to check the entire deck frame with a long 2×4 before laying down the decking boards. This will help ensure that all the blocks are level and the frame is straight before attaching the boards to it.
Can I build a floating deck without deck blocks?
Yes, you can build a floating deck without deck blocks. This type of deck is sometimes referred to as a “freestanding” or “level” deck. Building a freestanding deck requires several components like footings and posts, beams, joists, and the necessary fasteners and connectors.
To ensure that your deck will be stable and secure, it is important to properly calculate the size of each component and plan out your project ahead of time.
How long will it take to build a floating deck with deck blocks?
The amount of time it takes to build a floating deck with deck blocks depends on several factors, including the size of the deck and how much experience you have in building decks. A simple 10×10-foot floating deck typically takes three or four days to construct if you have some basic carpentry skills and all the necessary supplies.
However, a larger deck with more complex features, such as multi-level design or intricate railings, can take significantly longer. The amount of time and effort it takes to complete a project like this is also proportional to the complexity of the design.
Wrap Up
Building a floating deck with deck blocks is an easy and cost-effective way to create a beautiful outdoor living space. With proper planning, preparation and execution, you can create a sturdy and stable deck that will last for many years.
Some key steps in building a floating deck with deck blocks include selecting the right materials, measuring and marking out the area, preparing the ground, installing the deck blocks, and finally, laying the deck boards.
By following these steps and paying close attention to safety guidelines, you can create a stunning floating deck that will enhance the beauty and functionality of your outdoor space.